> For the complete documentation index, see [llms.txt](https://docs.emsigner.com/llms.txt). Markdown versions of documentation pages are available by appending `.md` to page URLs; this page is available as [Markdown](https://docs.emsigner.com/apps-and-integrations/platform-integrations/microsoft-sharepoint/connecting-sharepoint-and-emsigner-and-configuring-the-workflow.md).
# Connecting SharePoint and emSigner & Configuring the Workflow
Learn how to establish secure connections between SharePoint and emSigner and set up the automation workflow
From emSigner: **Settings → Marketplace Integrations → Sharepoint**.
#### **1.Connect emSigner**
Choose **emSigner**, add appropriate connection name, select instance (demo, qa, production), paste **AppName** and **SecretKey**, then click on **Connect**.
#### **2.Connect SharePoint**
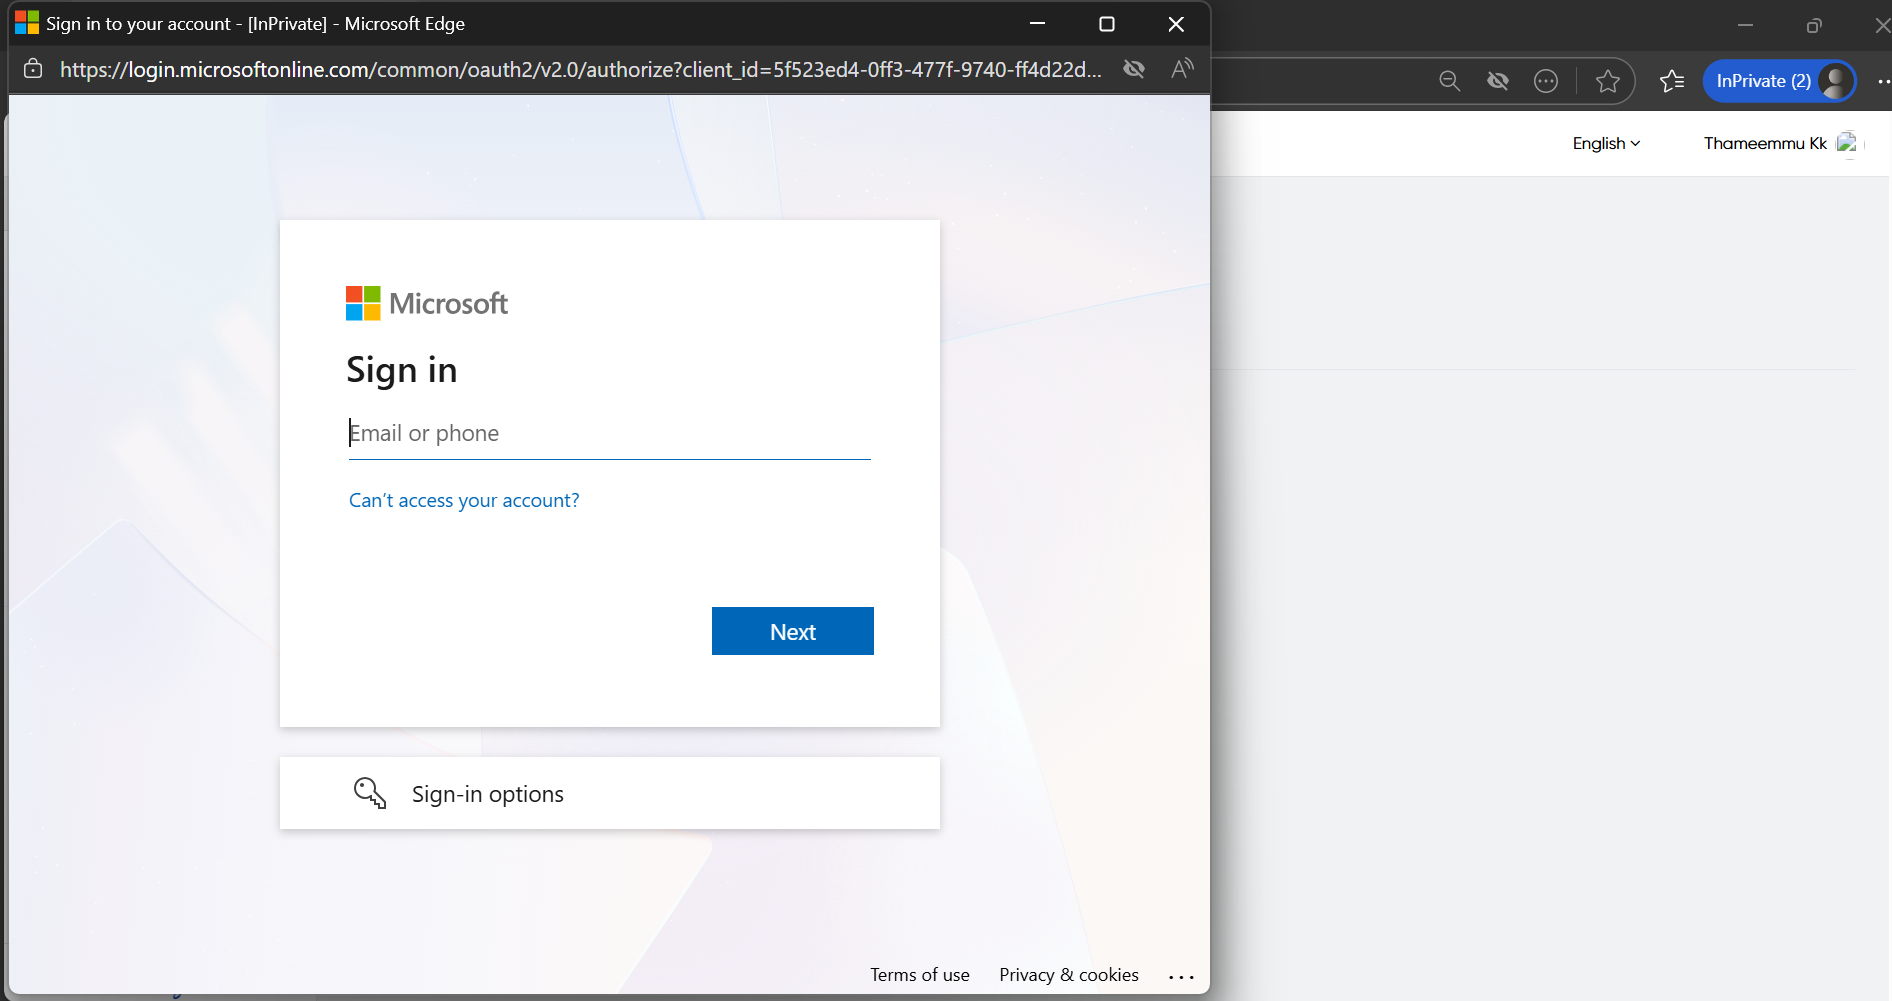
Click **Connect SharePoint** → enter a connection name (e.g. `Admin – ContosoSite`)->Click on **Connect** to follow Microsoft sign-in and grant Admin consent when prompted. Wait for the status to show **Connected**.
#### **3.Setup Workflow**
**3.1 Set Source (Monitor Folder)- New file from Sharepoint -> emSigner**
This workflow monitors a SharePoint folder and automatically sends new files to emSigner for signing.
**New File Created In Specific Location** Configure the folder emSigner should watch for incoming files:
* SharePoint Site — select the SharePoint site (e.g. *Konnectify emSigner integration*).
* Document Library ID — select the document library (e.g. *Documents*).
* Folder ID — select the specific folder to monitor for new files. Click Continue.
**Get File** This step fetches the actual file content to pass into emSigner. Use the same site and library selected above:
* Site ID — select the same SharePoint site as above.
* Document Library ID — select the same library as above.
* File Item ID — click "Insert field" and select **Id** (this is the file identifier auto-passed from the previous step).
* Include File Content — set to **True**. Click Continue.
**Map emSigner Template**
Links the file to an emSigner template and assigns signatories. The fields below marked with \* are mandatory.
* **Template ID** — select the fixed-form template to be used for this workflow from the dropdown.
* **Initiator Email** — enter the email address of the emSigner account that will initiate the envelope (e.g. [*env\_demo@yopmail.com*](mailto:env_demo@yopmail.com)).
* **Reference No.** — click "Insert fields" → expand **Get File** → search `created date time` → select **Created Date Time**. This uses the file's creation timestamp as a unique reference.
* **Document Name** — click "Insert fields" → expand **Get File** → search `name` → select **Name**. This uses the SharePoint file name as the document label in emSigner.
* **Base64 File Data** — click "Insert fields" → expand **Get File** → search `content` → select **Content**. This passes the actual file content to emSigner for signing.
* **Request From** — enter a static text name to identify this workflow source (e.g. *Sharepoint*). *This value is critical — it must be reused exactly in the return workflow (emSigner → SharePoint) to match and route the signed file back to the correct folder. Keep a note of what you enter here.*
* **Signature 1 Signatory Email** — enter the signer's email address. For multiple signatories, fill in Signature 2, 3, etc. accordingly.
* **Signature 1 Name** — enter the signer's display name.
Optional fields such as selfie capture, redirect URL, and notification preferences can be configured as needed.
Once all required fields are filled, click **Save** to complete the source workflow configuration.
**3.2 Configure Destination — emSigner signed file sync to SharePoint**
This workflow monitors emSigner for completed (signed) documents and automatically uploads them back to SharePoint. It has three steps.
**Document Completed**
This step listens for a completed signing event in emSigner and filters it using the Request From value set in Step 3.1.
* Request From — enter the exact same value used in the source workflow (e.g. *Sharepoint*). This links the two workflows together so only documents originating from this SharePoint integration are picked up. Click **Continue**.
**Find Document by Workflow ID**
This step retrieves the signed document from emSigner using the workflow identifier passed from the previous step.
* Workflow ID — click "Insert fields" → expand **Document Completed** → select **WorkflowID**. This is auto-populated from the trigger above.
* Document ID — leave blank unless specifically required. Click **Continue**.
**Upload File**
This step uploads the signed file back to the destination SharePoint folder.
* Site ID — select the SharePoint site (e.g. *Konnectify emSigner integration*).
* Document Library ID — select the target library (e.g. *Documents*).
* File Name — click "Insert fields" → expand **Document Completed** → select **Document Name**.
* New File Content (Base64) — click "Insert fields" →expand **Find-Document-By-WorkflowId** → select **File List 0 Base64 File Data**. This maps the signed file content to be uploaded.
* Folder Path — enter the destination folder path where the signed file should be saved (e.g. *\File to be shared with emSigner*). Click **Continue**, then click **Save Mapping**.
***
**3.3 Enable Workflow**
Once both workflows are configured, toggle the enable switch on each workflow to activate them. The end-to-end automation is now live — new files dropped in the monitored SharePoint folder will be automatically sent to emSigner for signing, and once signed, the completed document will be returned to the designated SharePoint folder.